Supply and Demand Indicator for MT4: No Repaint

In the world of trading, understanding the dynamics of supply and demand is crucial for identifying potential price reversals and entry/exit points. The Supply and Demand indicator for MetaTrader 4 (MT4) is designed to assist traders by visually highlighting these zones, but it’s important to use a version that does not repaint, ensuring accuracy and reliability in trading decisions. Let’s dive into how the Supply and Demand indicator works, its significance, and why a no-repaint version is vital for successful trading.
What is the Supply and Demand Indicator?
Supply and demand are the fundamental forces that drive price movements in any market, including Forex. These zones represent levels where buyers and sellers are most active, creating resistance and support areas.
- Supply Zones: These are levels where there is a surplus of sell orders, causing the price to reverse downward. Essentially, these zones act as resistance levels.
- Demand Zones: These are areas where there is an abundance of buy orders, leading the price to bounce upward. These zones are seen as support levels.
The Supply and Demand indicator highlights these areas on a chart, helping traders to anticipate potential price reversals. This tool uses historical price data to draw rectangles or shaded regions where significant buying or selling activity occurred, giving traders a visual representation of where price is likely to turn.
Why Does Repainting Matter in Trading?
A major concern with many technical indicators is repainting. Repainting occurs when an indicator’s output changes or “repaints” after a candle has closed, making it appear as though the indicator was correct in its prediction when it wasn’t. This can create confusion and lead to poor trading decisions.

For example, an indicator might initially highlight a supply zone, but as the price moves, the zone could shift or disappear altogether. This could mislead traders into thinking the zone was significant when it wasn’t, or that the market is behaving in ways it actually isn’t.
In the context of Supply and Demand indicators, repainting can be especially problematic because these zones are used to identify where the price is likely to react in the future. If these zones change after the candle closes, it can lead to missed opportunities or false signals, which could result in losses.
No Repaint Supply and Demand Indicator
A no-repaint version of the Supply and Demand indicator resolves this issue. This version ensures that once a supply or demand zone is drawn, it remains fixed on the chart, even as new price data comes in. The key advantage is that traders can rely on the zones displayed by the indicator for their analysis and decision-making, without worrying about them shifting or changing as the market evolves.
Here are some of the benefits of using a no-repaint version of the Supply and Demand indicator:
- Reliability: Once a supply or demand zone is plotted, it stays in place, allowing traders to make more informed decisions.
- Reduced Risk: Since the zones do not repaint, traders can confidently enter and exit trades based on the levels provided by the indicator.
- Better Trading Strategy: No repainting means more consistent results, which is essential for developing a sustainable trading strategy.
- Clearer Visualization: With static supply and demand zones, traders can easily spot potential reversal points without second-guessing the validity of the levels.
How to Use the Supply and Demand Indicator in MT4
- Install the Indicator:
- Download the no-repaint Supply and Demand indicator.
- Place the
.ex4file into yourIndicatorsfolder within the MetaTrader 4 platform. - Restart MT4 and apply the indicator to your chart.
- Setting Up the Indicator:
- After applying it to your chart, the indicator will automatically highlight supply and demand zones.
- You may adjust the sensitivity or other parameters in the settings window to fine-tune the zones according to your trading strategy.
- Identifying Trade Opportunities:
- When price approaches a demand zone, consider looking for buy signals such as bullish candlestick patterns or other indicators confirming upward movement.
- When price reaches a supply zone, look for sell signals, such as bearish candlestick patterns or confirmation from other indicators indicating a potential downward movement.
- Risk Management:
- Always use proper risk management techniques when trading, including setting stop losses at key levels outside of supply or demand zones, and adjusting position sizes to suit your risk tolerance.
Advantages of a No Repaint Indicator for Traders
The main advantage of a no-repaint indicator lies in the consistency of the signals it provides. Since traders can be confident that the highlighted zones will not change, they can focus on interpreting the market conditions without worrying about losing valuable time to second-guess the accuracy of the indicator. This can greatly reduce stress and improve the decision-making process, leading to more successful trades.

Powerful Forex VPS for MT4 & MT5 – Best Price
182 in stock
$44.99 $359.99Price range: $44.99 through $359.99| Validity | Monthly, Quarterly, Semi Annually, Annually |
|---|
Additionally, no-repaint indicators help build trust in your trading system, as they provide a more stable foundation for analysis. This is especially important for new traders who might find the concept of repainting indicators confusing or misleading.
Conclusion
The Supply and Demand indicator for MT4 is a powerful tool for any trader looking to harness the principles of supply and demand in their analysis. By using a no-repaint version, traders can ensure the zones they rely on are fixed, accurate, and trustworthy. With the certainty that the indicator will not alter its plotted zones, traders can confidently use this tool to identify potential reversal points and make more precise trading decisions.
Whether you’re a beginner or an experienced trader, incorporating the no-repaint Supply and Demand indicator into your trading strategy can provide valuable insights and improve your overall trading performance.


Most Popular Forex EA

Apex Quant BTCUSD EA: AI Bitcoin Scalper for MT5
In stock
$0.00 $159.99Price range: $0.00 through $159.99

AVA AIGPT5 XAUUSD EA: AI Gold Scalper for MT4
In stock
$0.00 $679.99Price range: $0.00 through $679.99
Elysium Vortex EURCAD EA: AI EURCAD Scalper for MT5
In stock
$0.00 $199.99Price range: $0.00 through $199.99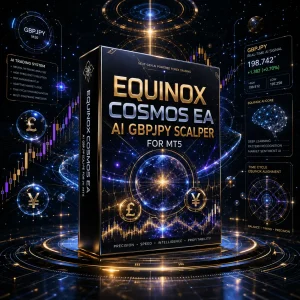
Equinox Cosmos GBPJPY EA: AI GBPJPY Scalper for MT5
In stock
$0.00 $199.99Price range: $0.00 through $199.99


Golden Deer Holy Grail Indicator (Lifetime Premium)
324 in stock
Original price was: $1,861.99.$187.99Current price is: $187.99.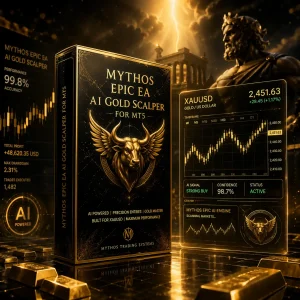
Mythos Epic XAUUSD EA: AI Gold Scalper for MT5
In stock
$0.00 $849.99Price range: $0.00 through $849.99
Nexora Manus XAUUSD EA: AI Gold Scalper for MT5
In stock
$0.00 $699.99Price range: $0.00 through $699.99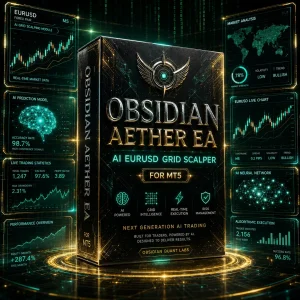

Obsidian Aether EURUSD EA: AI Grid Scalper for MT5
47 in stock
$0.00 $797.99Price range: $0.00 through $797.99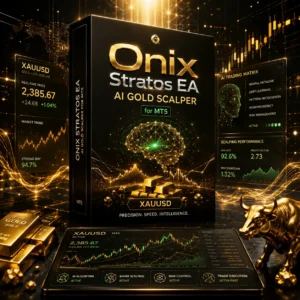
Onix Stratos XAUUSD EA: AI Smart Scalper for MT5
In stock
$349.00 $999.00Price range: $349.00 through $999.00
Powerful Forex VPS for MT4 & MT5 – Best Price
182 in stock
$44.99 $359.99Price range: $44.99 through $359.99

Top 2000 Trading Tools for Forex Success (EA & Indicator)
In stock
Original price was: $99.99.$0.00Current price is: $0.00. Gold Forex EA